


By The Windows and Doors Team
Your Local Glazing & Home Improvement Experts
Reading Time: 5 minutes
Quick Summary
If you are planning to upgrade your windows, this guide explains how to install uPVC windows step by step.
You will learn how to prepare the opening, fit the frame, insert the glazing, and seal the unit properly.
This clear, DIY-friendly walkthrough is written for UK homeowners who want to do it right the first time.
Installing new uPVC windows can improve energy efficiency and boost your home’s value.
If you feel confident with DIY, this installation guide shows you how to install uPVC windows properly without relying on professionals.
Avoid common DIY errors by learning exactly how to install uPVC windows with precision, from prep to seal.
Clear away any debris from the window opening.
Remove the existing window frames and glazing carefully to avoid damage to surrounding walls.
Clean the surface thoroughly so your new window sits flush and level.
Measure the width and height of the window opening.
Ensure your new uPVC window frame is 10-15mm smaller in both dimensions.
This gap allows space for alignment and sealing. It also makes room for the final application of silicone sealant to keep moisture out.
Place the uPVC frame into the window opening. Use packers around the frame to centre it.
You want equal spacing on each side. This helps avoid stress points that can cause future problems.
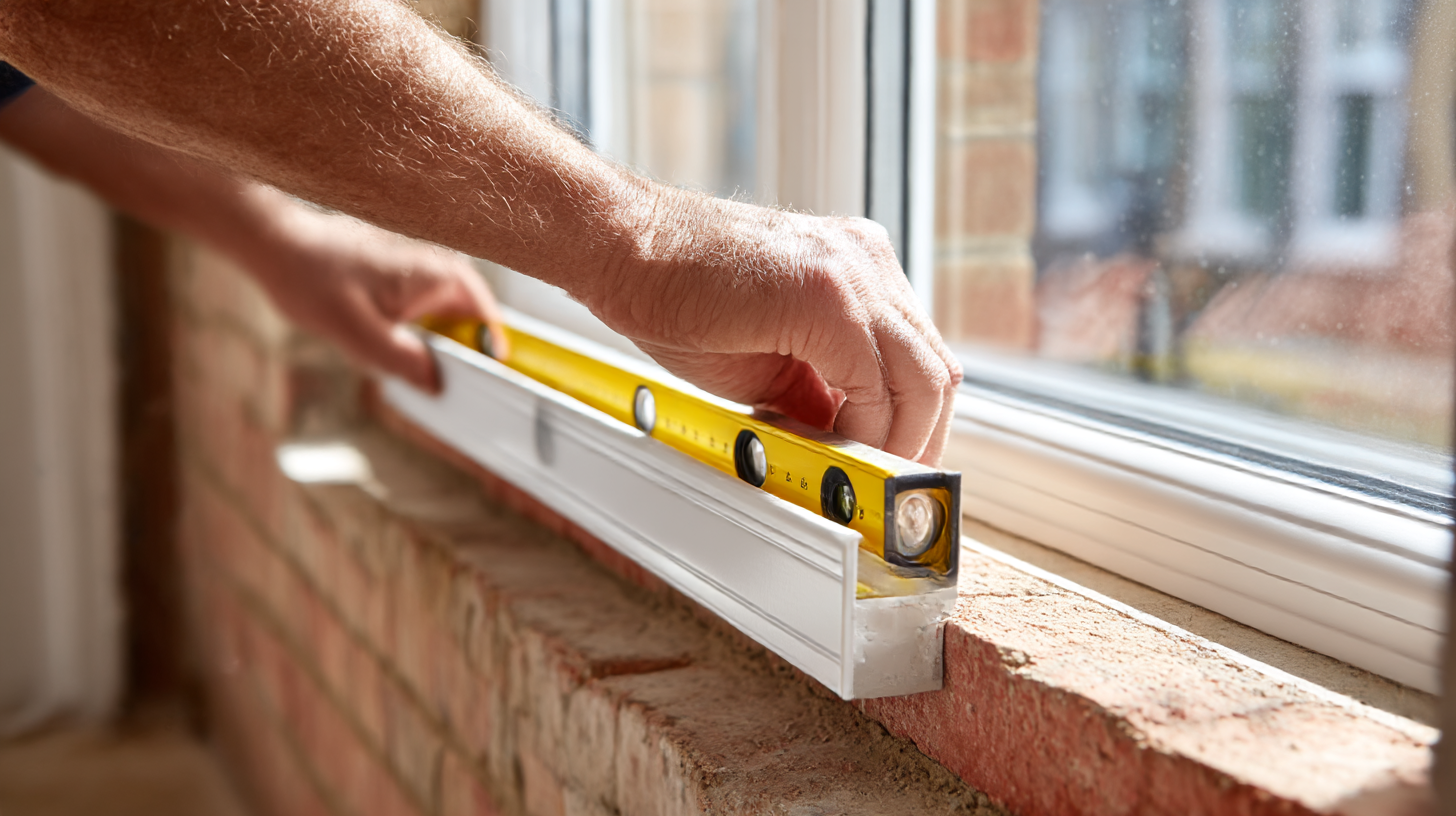
Use a spirit level to check the window frames are plumb and square. Adjust your packers as needed.
When it is perfectly level, drill pilot holes through the frame into the surrounding brickwork or timber.
Fix the frame using appropriate screws. Start with the bottom of the window, then fix the sides.
Avoid overtightening, which can warp the frame. Make sure the fixings are solid and hold the frame securely in position.
Run a continuous bead of silicone around the back edge of the window frame.
This bead of silicone creates a weather-tight seal between the frame and wall. Always run a bead carefully, ensuring no gaps or overlaps.
Place glazing packers at the bottom of the window section to support the weight. Lower the glass units carefully into place, making sure they sit evenly within the frame.
Tap in the glazing beads to hold the glass securely. Start with the top and bottom, then do the sides. Use a rubber mallet if needed, and make sure the beads fit snugly without bending or snapping.
Check the window opens and closes smoothly. Wedge the window sash if required to improve operation and reduce movement. This also ensures a tight seal when closed.
Apply another bead of silicone around the exterior joint to prevent drafts and water entry. Smooth the sealant with a wet finger or a finishing tool for a clean finish.
Remove all protective tape and clean the frames. Inspect your work thoroughly before moving on. This is also a good time to add any decorative trims or finishing details if desired.
After installation, double-check that the window locks and handles work correctly. Make sure the unit is sealed tightly and there are no cold spots. Keep the area clean and dry while the sealant cures.
To maintain your new uPVC windows, wipe the frames with a soft cloth and mild detergent every few months. Check the seals and hinges yearly, and reapply silicone where needed to prevent drafts.
Following this advice will extend the lifespan of your installation and help keep your home energy efficient for years to come.
Professional installation time insights from leading UK sources. Plan your project with confidence using real industry data.
Average time per window replacement
Survey of replacement fittings
Straightforward installations
Full replacement inc. removal
Check the window opens and closes smoothly. Wedge the window sash if required to improve operation and reduce movement. This also ensures a tight seal when closed.
Apply another bead of silicone around the exterior joint to prevent drafts and water entry. Smooth the sealant with a wet finger or a finishing tool for a clean finish.
Remove all protective tape and clean the frames. Inspect your work thoroughly before moving on. This is also a good time to add any decorative trims or finishing details if desired.
You have just walked through the crucial steps of how to install uPVC windows installation, gaining solid insight into precision, sealing, and secure installation.
It is a rewarding project, and with this guide, you are set to tackle it yourself.
However, we know some jobs call for extra hands. For bigger projects, trickier installations, or simply for peace of mind, remember our team of experienced installers is always here to step in.
We handle everything from exact measurements to a flawless fit, making sure your home gets the best in energy efficiency and security, without you lifting a finger.
Whether you are tackling it yourself or choosing expert help, the aim remains the same: a perfectly fitted uPVC window that improves your home for years to come.
External Resource
Official UK government overview on when building regulations approval is required, including for window and door replacements. https://www.gov.uk/building-regulations-approval?
Clear summary of requirements: U‑values (1.2 W/m²·K for new, 1.4 W/m²·K for replacements), WER B+, emergency escape, ventilation standards. https://www.windows-doors-uk.co.uk/building-regulations-for-windows-in-the-uk/
Answer these questions to see if a composite door fits your needs. Choose the best option for each question.
1. What is your top priority for a new front door?
2. How much maintenance are you willing to do?
3. How important is long-term durability to you?