

By The Windows and Doors Team
Your Local Glazing & Home Improvement Experts
Reading Time: 10 minutes
Quick Summary
This in-depth guide shows you how to install upvc door from the first measurement to the final seal.
You will prepare the opening, remove the existing door, set the new door frame, secure the fixings, seal against the weather and carry out the finishing work.
Follow each step and your new entrance will keep out draughts, boost security and open smoothly for many years.
When you begin learning about installing upvc door units at home the task can appear daunting.
In reality the work breaks down into logical steps that anyone with basic tools and patience can follow. The method below relies on UK best practice for proper installation of doors and windows.
You will see repeated references to checking levels, applying packers, and sealing joints because these small details decide whether the fit stays trouble-free.
Read through the full procedure first, gather everything you need, then start work with confidence.
Accurate measurement is the backbone of every successful upvc door fixing job.
Use a steel tape to record the width and height of the brick opening in three places: top, middle and bottom.
Write down the smallest reading then subtract ten millimetres. This allowance gives a five-millimetre expansion gap around every edge.
That space lets you position the frame square by sliding glazing packers behind it and it leaves room for sealant later.
Move furniture and rugs clear of the area. Lay dust sheets and masking tape along skirting boards.
Switch off any burglar alarm contacts attached to the door fittings. Good preparation prevents accidents and keeps the worksite tidy.
Gather every item before you touch the old frame. When you stop halfway to fetch a bit you slow down and risk mistakes.
-Steel tape measure and sharp pencil
-1200 mm spirit level
-SDS drill with 6 mm and 10 mm masonry bits
-Screwdriver bits and cordless driver
-Hammer, sharp wood chisel, flat pry bar
-Silicone gun with low-modulus neutral-cure sealant
-Box of assorted plastic glazing packers
-Frame fixings 7.5 × 100 mm and matching wall plugs
-A new uPVC door set – the door includes frame, sash, cill, handles and locks
If you plan to fit a upvc door that features side lights or top lights you will also need glazing suction cups and a helper to move the large double-glazed units.
The cost of upvc door sits comfortably between timber and composite.
You spend less than composite and avoid the routine painting that a timber slab demands.
Comparing costs across wood, uPVC, and composite door materials
Source: National Plastics
Open the existing door and wedge it with a timber off-cut.
Drive a nail punch into each hinge pin from below, tap up, pull the leaf free and place it safely to one side.
Run a craft knife through old sealant. For a timber frame saw through both jambs about 150 mm above and below the centre, then lever the sections inward with a pry bar.
Chunk removal avoids damage to plaster edges and masonry.
With the timber out sweep out rubble. Use a bolster and hammer to chip away old mortar lumps until the reveal is clean and flat. Vacuum dust so your new sealant will bond.
At this point you can inspect for signs of rising damp or failed double glazing around adjacent windows and doors and cure any problems before the fresh frame hides them.
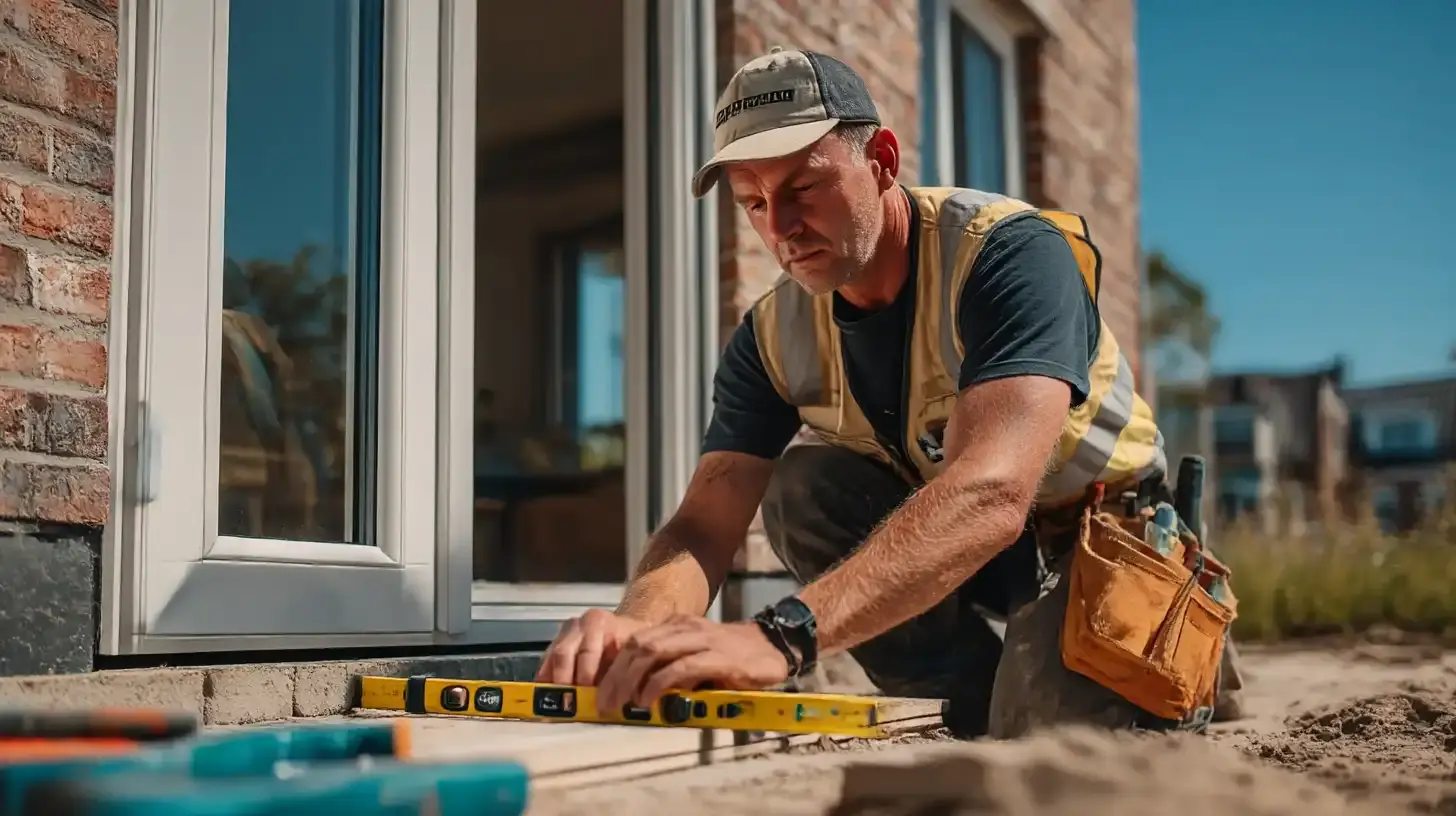
A flat sill supports the entire frame. Cut your uPVC cill to the brick aperture width and clip on both end caps.
Gun a continuous bead of silicone on the outer brick course, set the cill in place and press down firmly. Use your spirit level front-to-back and side-to-side.
Add plastic packers under low spots until the bubble is centred. Correct cill alignment stops the door leaf scraping later and directs rainwater safely away from the house.
Lift the new frame onto the cill and centre it so the expansion gaps are equal.
Check plumb on the hinge jamb first then level across the head. Place glazing packers between frame and brick at hinge height, lock height and mid-points.
The frame must sit square so the sash compresses evenly against the weather seals. A helper can hold it steady while you carry out these checks.
Drill through the hinge jamb at least 150 mm from each corner, go 50 mm into the masonry and insert wall plugs.
Place a packer behind each hole to prevent frame distortion then drive the first two frame fixings home.
Check the bubble again because initial screws often pull the frame slightly. Add further fixings every 600 mm on both jambs and across the head.
Tighten each screw until snug, never until the uPVC caves inward. Correct door installations rely on patience during this stage.
Re-hang the door leaf, close it and assess the gap. If the lock side sags, slide a diagonal stack of packers under the bottom hinge corner of the sash glazing.
Add more at the top opposite corner to balance. This trick, called toe and healing, shifts weight to the hinge side and keeps the sash square within the frame.
Snap in the glazing beads, working from the head, then the hinge jamb, then the lock jamb, and finally the sill bead. Your double glazing now supports the sash across its full width.
Open and shut the door several times. The latch must drop into the keep without force.
Engage the multipoint lock fully and confirm that the hooks and rollers draw tight. If you feel resistance slacken the nearest frame screws a quarter turn, tap the jamb one millimetre with a plastic tool and tighten.
Double check the bubble on the spirit level after each tweak.
Inside, operate the trickle vent if your door includes one and listen for rattles. Check that the draught brushes sit proud and seal along the head.
Quality control at this point saves endless call-backs later.
Professional installation time insights from leading UK sources. Plan your project with confidence using real industry data.
Average time per window replacement
Survey of replacement fittings
Straightforward installations
Full replacement inc. removal
Sealant choice matters. Low-modulus neutral-cure silicone stays flexible on uPVC and masonry.
Cut the nozzle at forty-five degrees, hold the gun at a steady angle and push the bead so it fills the gap fully.
Smooth with a wetted gloved finger. Work along both jambs, across the head and along the bottom where the cill meets brick. Complete coverage stops wind driven rain finding its way behind the frame.
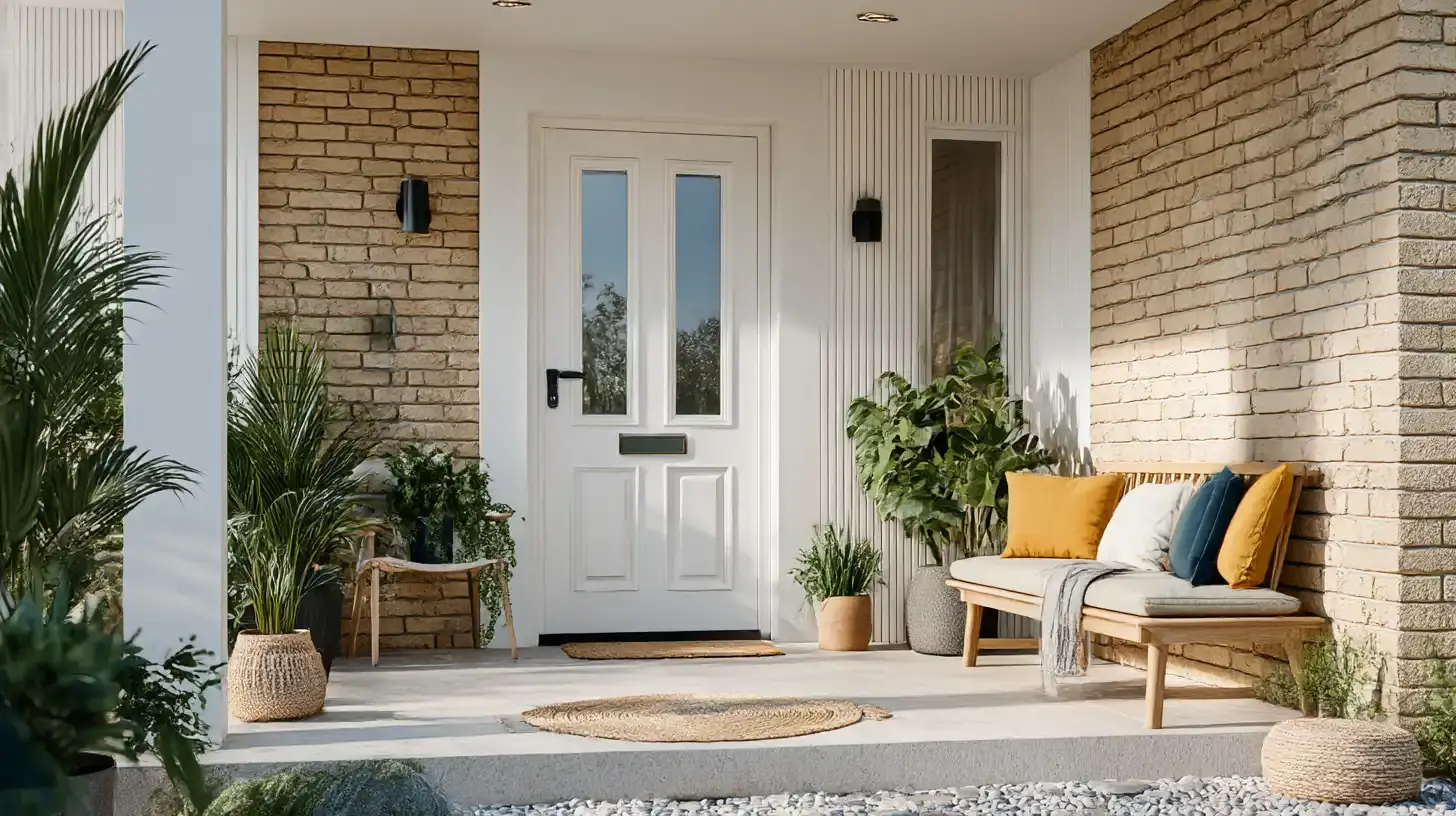
Cut uPVC architrave strips to length and clip them around the inner reveal to hide the expansion gap.
Apply a thin line of white decorators’ caulk along the wall edge and wipe smooth with a damp cloth. Clean the profile faces with a non-abrasive uPVC cleaner to remove dust, finger marks and excess silicone.
Because you carried out the fitting yourself the only outlay was the cost of upvc door and consumables. Labour for professional installers often matches the product price, so doing the work personally halves the total.
Spend those savings on matching doors and windows elsewhere in the house or upgrade to laminated safety glass for extra security.
You now know how to install upvc door in ten logical steps. Careful planning, exact measurement and accurate fixing guarantee long service.
You used packers to control alignment, checked levels at every stage and sealed all joints against water. The door swings freely, locks without effort and resists winter gales.
With these skills you can move on to fitting upvc doors on porches, conservatories or rear patios, confident that your technique already meets the standard for a professional upvc door fixing.