

By The Windows and Doors Team
Your Local Glazing & Home Improvement Experts
Reading Time: 7 – 9 minutes
Quick Summary
This comprehensive guide provides a step-by-step process on how to fit window film successfully.
We cover the essential tools, meticulous preparation, and a detailed installation process, ensuring you get a flawless, bubble-free finish.
Learn how to improve privacy and reduce glare with a straightforward DIY project.
Do you have a problem with sun glare?
Are you looking for a simple, cost-effective way to get more privacy in your home without giving up natural light?
Window film is the perfect solution. It offers many benefits, including more privacy and better energy efficiency.
The idea of a do-it-yourself (DIY) project might seem tricky, but learning how to put on window film is actually quite easy. You just need the right tools and a clear process.
This comprehensive guide shows you every step of the process. You will learn how to install window film from preparing your windows to applying the film and getting a professional finish.
With a little patience and attention to detail, you will soon enjoy the benefits of window film.
Before we start, let’s look at why you should fit glass film in the first place. The benefits are not just about how it looks.
For more on the advantages, read this article from Window Film UK on Benefits of Window Film.
– Privacy: Frosted or patterned window film is great for bathrooms and ground-floor windows. It lets in soft light but significantly reduces the view from the outside. However, the level of privacy depends on external lighting conditions. Privacy is usually best during daylight but may be reduced at night if indoor lights are on. For total privacy, consider this when choosing film types.
– UV Protection: The sun’s ultraviolet (UV) rays are the main cause of fading in furniture and flooring. Most window films block a lot of these harmful rays. It acts like sunscreen for your home’s interior, protecting your belongings from sun damage.
– Energy Efficiency: A well-chosen window film helps control your home’s temperature by reflecting solar heat in summer, which keeps your home cooler and reduces the need for air conditioning. While some films provide minor insulation benefits in winter, this effect is limited compared to double or triple glazing. For substantial winter heat retention and energy savings, high-performance double glazing or thermal windows remain the most effective solution.
–Safety and Security: If a window breaks, specially designed safety or security films hold the broken glass together, preventing dangerous shards from flying and causing injury. Note that not all window films provide this safety feature, only certified safety or security films offer this protection
Successfully fitting glass film depends a lot on preparation. If you rush this stage, you will likely get a poor result.
Here is a checklist of everything you will need.
-Window film of your choice
-Sharp craft knife or Stanley knife
-Spray bottle filled with soapy water (washing up liquid)
-Squeegee or straight edge (plastic)
-Tape measure and pencil
-Lint-free cloths or paper towels

1.This is the most important step. A perfectly clean glass surface is vital for a smooth, bubble-free installation. Any dust or dirt on the glass will get stuck under the film and cause bumps.
2.Clean the glass: Use a glass cleaner and a lint-free cloth to clean the glass surfaces thoroughly. Pay close attention to the corner of the window and the edges.
3.Scrape the surface: To get a very clean finish, use a razor blade or sharp scraper to gently scrape the glass surfaces. This will remove paint specks or other debris stuck to the glass. Use great care during this step to avoid scratching the glass.
4.Clean the frame: Do not forget to clean the window frame itself. Any dust from the frame can easily fall onto the wet glass during installation.
With your tools ready and your window clean, you are ready to apply the film.
Follow these steps carefully for the best results.
For another great resource, see these detailed Decorative Window Film Fitting Instructions.
1. Measure the window: Use your tape measure to get the exact width and height of the glass. Measure at several points to account for any small variations.
2. Lay the film on a flat surface: Unroll the window film on a clean, flat surface, like a large table.
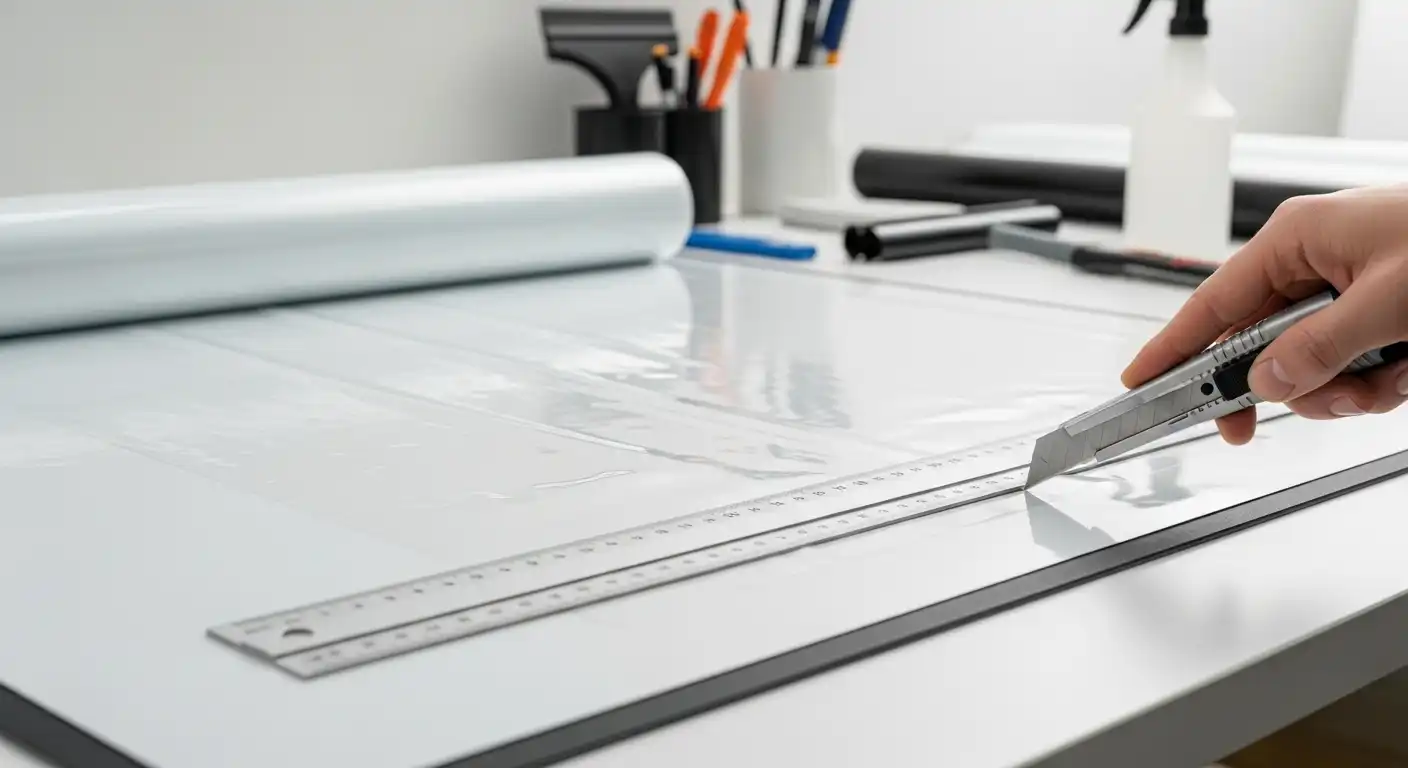
3. Cut the film to size: Cut the film using your measurements, but add a 1-2 cm margin on all sides. This excess film is a safety net. It allows for a precise trim once the film is on the window. Use a straight edge and your sharp craft knife to make clean cuts.
1.Spray the window: Generously spray the window with your soapy water solution. Use plenty of water; it makes it easier to position the film.
2.Remove the backing: This is easier with two people, especially for larger windows. Slowly and carefully peel the backing from the film. This is a delicate process, so use great care to stop the film from sticking to itself or getting creased.
1.Position the film: With the adhesive side facing the wet glass, gently place the film on the window. The soapy water lets you slide it into position.
2.Align the top corner: Start by lining up one top corner of the window.
3.Align the edges: Move the rest of the film so the edges are roughly parallel to the window frame, with your 1-2 cm margin visible on all sides.
1.Squeegee from the center: Use your squeegee, starting from the center of the film and working outwards. Apply firm, consistent pressure to push the soapy water and any air bubbles out from under the film.
2.Work in sections: Continue working your way across the film, always pushing from the center towards the edge of the window.
3.Wipe away excess: Use a lint-free cloth or paper towel to wipe up the excess water that is pushed out from the edges.
1.Use a sharp knife: With the film securely in place, use your sharp craft knife to carefully trim the excess film.
2.Use a straight edge: To ensure a perfect, straight cut, use a straight edge to guide your knife along the edge of the window frame. Trim slowly and carefully, making a neat cut right up to the corner of the window.
3.Remove the trimmings: Once you’ve trimmed all four sides, gently peel away the excess film.
Even with the best preparation, you might find a few small issues.
Here is how to fix them.
If you see an air bubble, do not panic. For small, isolated bubbles, you can often push them out with your squeegee.
If a bubble is stubborn, it might be a small bit of dust. If this happens, you can gently lift the edge of the film, spray the window with more soapy water, and re-apply it.
For a tiny bubble you cannot move, a trick is to use a pin to poke a tiny hole and then push the air out with the squeegee.
If the edge of the film starts to peel, it is often because there was not enough soapy water or the window was not perfectly clean in that area.
Simply lift the peeling edge, spray the window with more soapy water underneath, and re-squeegee it firmly. If the window tint continues to peel, it may be due to a rough bit on the window frame or a bit of dirt.
You may need to re-apply the film with a fresh piece.
Once your window film is installed, it needs very little maintenance.
To clean it, use a soft cloth and a non-abrasive, ammonia-free cleaner. Avoid harsh chemicals or abrasive materials, as these can scratch the film.
For more care instructions, check out this guide from Window Film UK: Window Film Cleaning and Care Information.
Installing window film is a great DIY project that makes your home more comfortable and private.
The key to a professional-looking result is careful preparation and a slow, careful approach.
By following these steps, you will successfully apply the film, avoid common problems, and enjoy the many benefits for years to come.
Ready to improve your home?
Share your results in the comments below, or check out our other guides on improving your home.
The United Kingdom’s window film market is projected for significant and sustained growth over the next decade, driven by a national focus on energy efficiency and increasing consumer demand.
According to a detailed market analysis, the industry’s value is expected to double, presenting a clear opportunity for homeowners and businesses to invest in this technology.
The analysis estimates the UK window film market was valued at approximately £112.2 million in 2023.
Forecasts indicate that this figure will climb to £225.2 million by 2035, expanding at a steady compound annual growth rate (CAGR) of 5.99% during the forecast period.
This impressive growth is largely propelled by the demand for energy-saving solutions in buildings. Sun control films are the dominant force in the market, valued for their ability to reduce solar heat gain in the summer and prevent heat loss in the winter, leading to lower energy bills and a smaller carbon footprint. This segment alone is projected to be worth approximately £76.0 million in 2035.
Other key market segments also show strong potential.
Safety and security films, which offer protection against break-ins and accidental glass shatter, are forecast to reach a market value of £32.0 million by 2035.
Decorative films, used to enhance privacy and aesthetics in homes and offices, are expected to grow to a £24.0 million market in the same year.
The consistent upward trend highlights a growing recognition of window film as a practical, cost-effective upgrade for improving the comfort, security, and sustainability of properties across the UK.
Strategic Growth Analysis & Projections
Source: SNS Insider Report
If you’re considering window film, it means you’re serious about improving your home’s comfort and energy efficiency.
While film can help, it doesn’t solve underlying issues like drafts, condensation, or poor insulation.
Before you decide, let one of our experts provide a free, no-obligation assessment of your current windows.
We will help you understand the most effective way to achieve your goals, whether it’s a simple fix or a long-term upgrade.